NOTE: Computers managed by the Liberal Arts College do not need to download the Omnissa Horizon Client. Only outside computers must download the client.
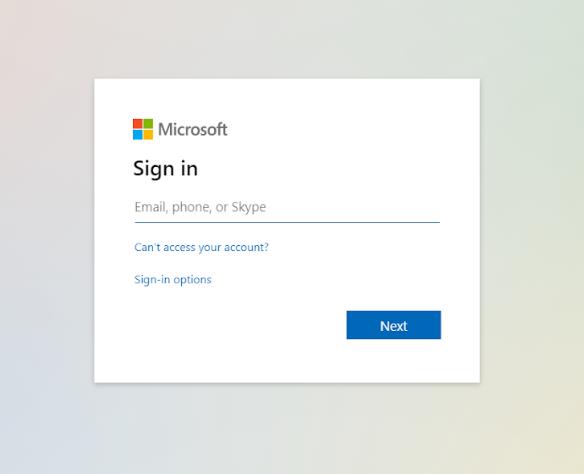
If you are not signed into your Penn State account, you will be asked to do so. Signed in users will be taken to Step 5.
3.
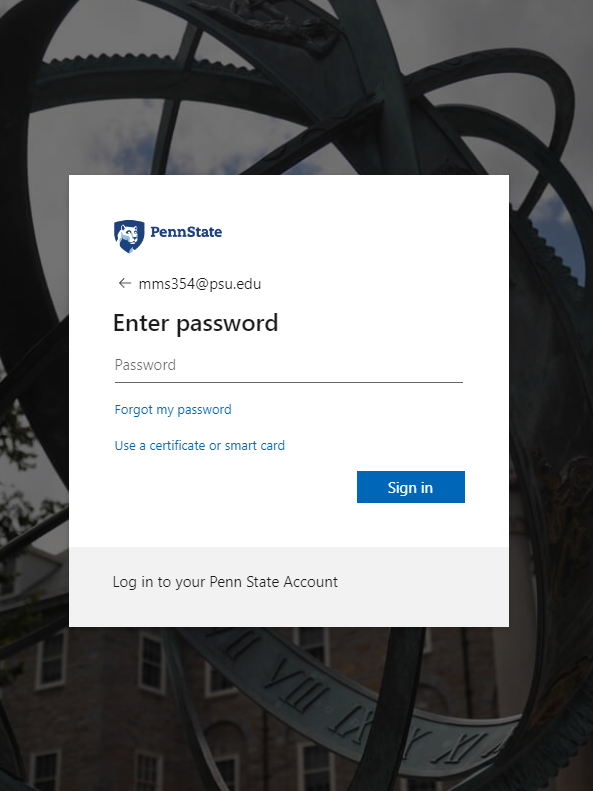
If you are not currently logged in, you will be asked to do so and authenticate with two factor authentication.
4.
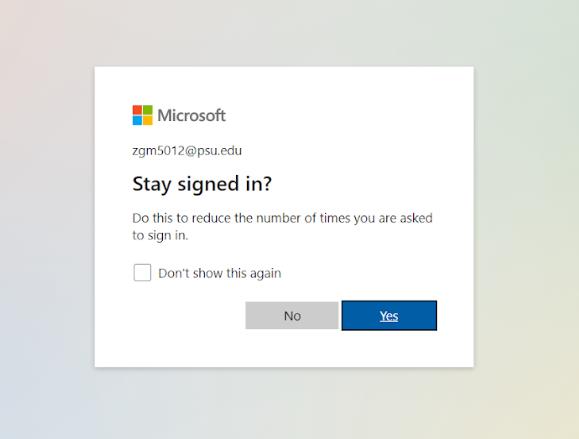
Once you are logged in with your Penn State account, you will see this screen. If you select “Yes” and check, “Don’t show this again,” you will not see this screen again.
5.
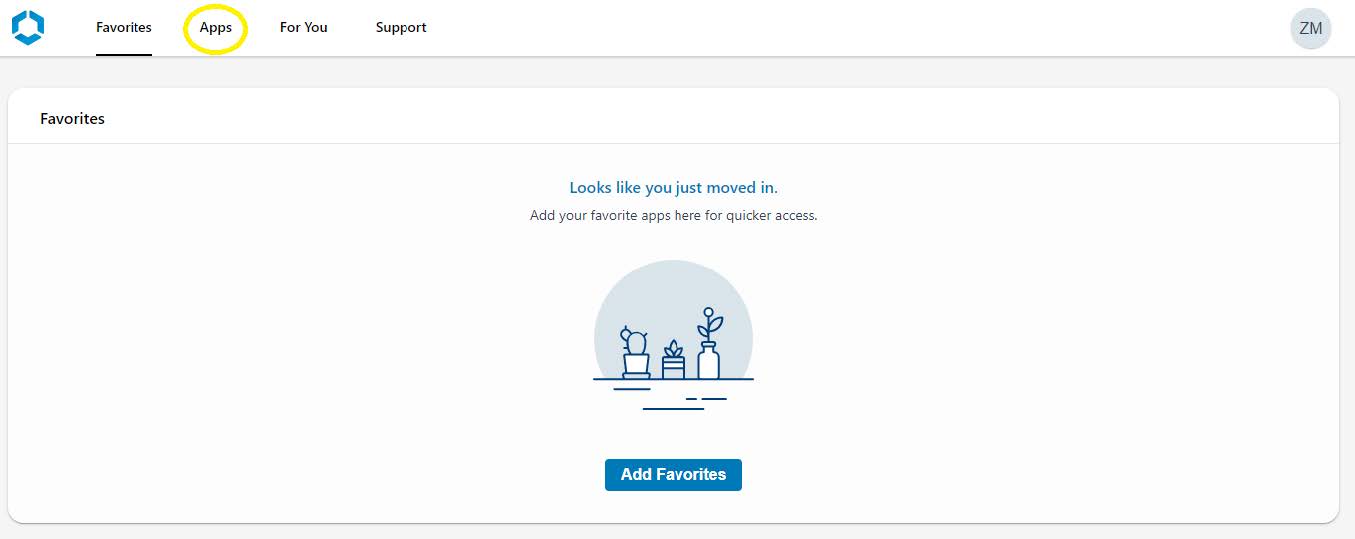
Once you hit “Yes,” you will see this screen. Select ‘Apps’ from the top menu.
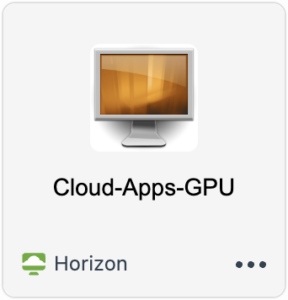
6.
In the Apps tab, you will select ‘Cloud-Apps-GPU’
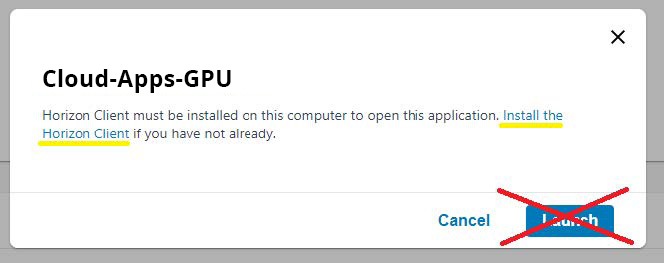
7.
This selection will bring up a pop-up window. DO NOT HIT THE LAUNCH BUTTON. Select the “Install” link underlined in yellow.
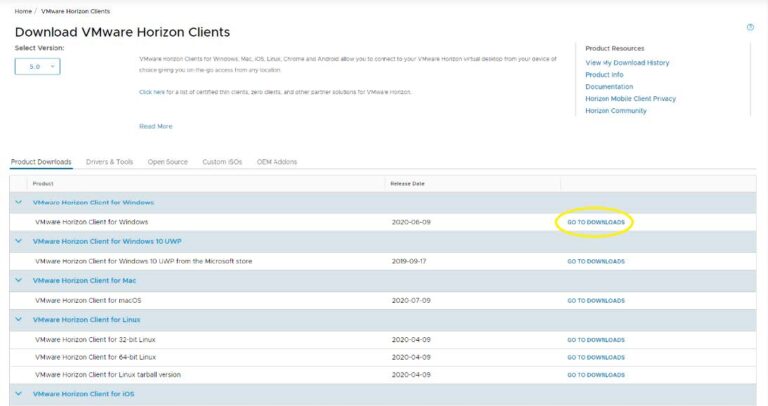
8.
This will take you to the following screen, where you will see “Omnissa Horizon Client for Windows” Click on the “Go to Downloads” button.
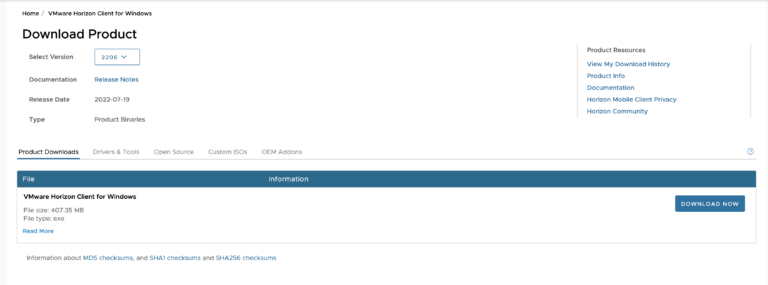
9.
Once clicked, you will be taken to the “Download Product” screen. Hit the blue “Download Now” button. The download may take several minutes.
10.
Once your download has finished, click on the “Omnissa – Horizon – Client.exe” at the bottom of your screen or browse to it in your downloads folder.
11.
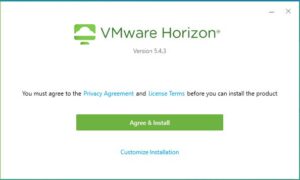
Next, you will see the following screen and will need to agree to the terms.
12.
The following screen with either:
Ask you to sign in as an Administrator to allow the Virtual Desktop to make changes to your computer. This will likely be your personal computer login and password.
Ask you to allow the Virtual Desktop to make changes to your computer.
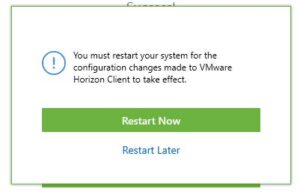
13.
Allowing the Virtual Desktop to make changes to your computer will complete the install. Your computer will ask to restart. This can take several minutes.